The error reads, “Not enough quota is available to process this command.” It is important to fix the 0x80070718 error in order to successfully share files and folders to a network. In this article, We are going to show you some of the methods by which you can fix the 0x80070718 error in Windows 10.
Possible Reasons For The 0x80070718 Error
There can be a number of reasons behind your computer showing you this error, and the main ones are:
Low Disk Usage Limits: This is one of the most common reasons why you might be getting the 0x80070718 error on your computer. The reason is that your default Disk Usage limits are not sufficient to handle the shared files. Your Default Save Location is an SSD: If you have set your default save location to an SSD, then also you might see this error. This can be fixed simply by changing the default save location to an HDD. Corrupted File or Folder: You might also get this error if the file or folder that you are sharing over a network is corrupted.
Fix the 0x80070718 Error in Windows 10
By Changing the Disk Usage Limits
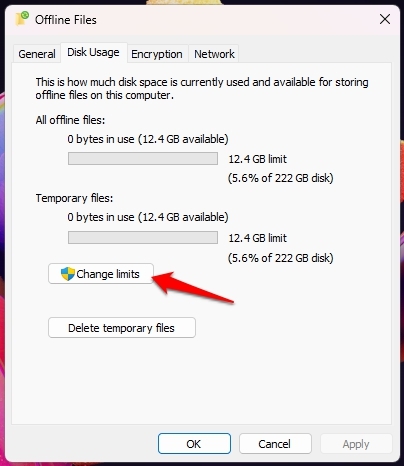
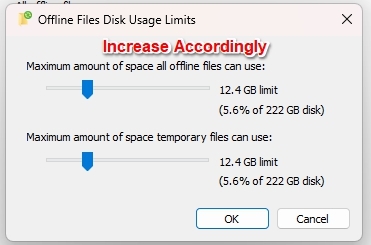
The main culprit behind the error 0x80070718 is the low disk usage limit that is set by default. You can easily change it, and that shall fix the problem for you. Here is how you can do it: Step 1: Go to the Windows Search Bar, type “Control Panel,” and hit enter. Step 2: In the Control Panel, navigate to Sync Center. Step 3: From the menu on the left side, select ‘Manage offline files.’ Step 4: In the Offline files menu, click on ‘Disk Usage’. You will see the option ‘Change limits’; click on that. Grant all the permissions if prompted. Step 5: Now you have to increase the Maximum amount of space all offline files can use, and the maximum amount of space temporary files can use. I suggest that you keep it to 70%. Once you have increased the limits, you have to click OK to apply the new settings. And that’s it, you can now restart your computer, and you shouldn’t see the message again.
By Changing the Default Save Location
A lot of users also face this error when they have their default save location set to their SSD instead of the HDD. You can easily change it and here is how: Step 1: Go to the Windows Search bar, type “Run” and hit enter. Step 2: In the run box, type “ms-settings:savelocations,” and hit enter. This will open the Default Save Locations in Settings. Step 3: Now you can choose the default save location for all the files. All you have to do is go to the file type(example: New Apps, New Documents, etc) and select the default location from the dropdown menu below every file type. Make sure to click on Apply after selecting the HDD for the file type that is showing you the error.
By Repairing the Corrupted Files and Folders
A corrupted file or folder might also be the cause of this error, and you can easily repair a corrupted file or folder by using any third-party tool. Some of the best tools for repairing a corrupted file or folder are Repair Toolbox, Hetman File Repair, and Stellar Microsoft Office Repair Toolkit. You can find a lot more such tools online, and you can use them to fix your files or folders. If you don’t want to use a third-party tool, then you can use Microsoft’s Diagnose and Repair Tool for File and Folder.
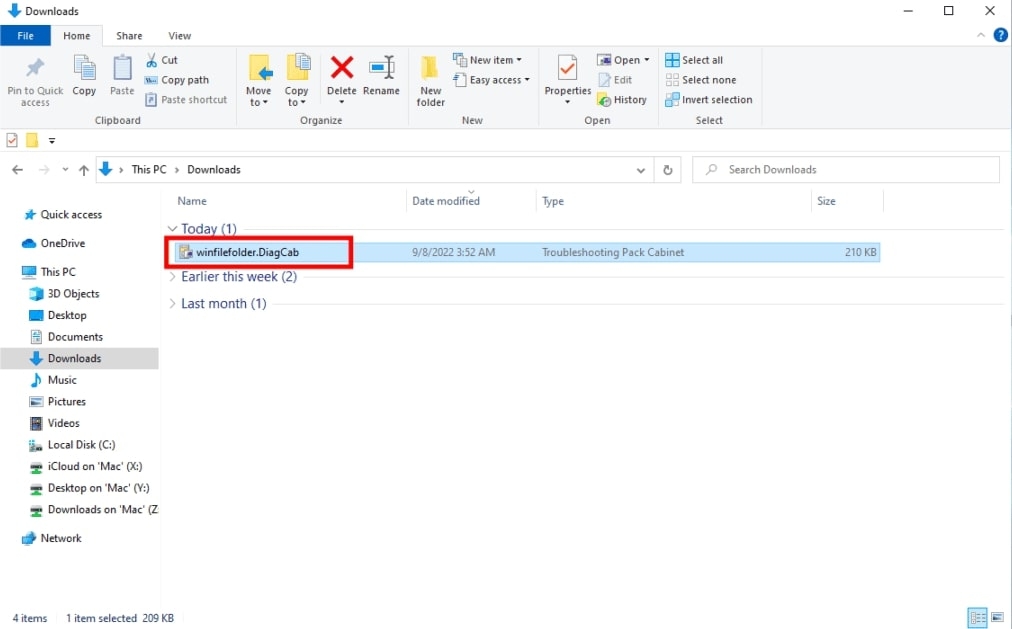
Visit this URL to download the Microsoft Diagnose and Repair Tool for File and Folder. Once downloaded, install the winfilefolder.DiagCab file.
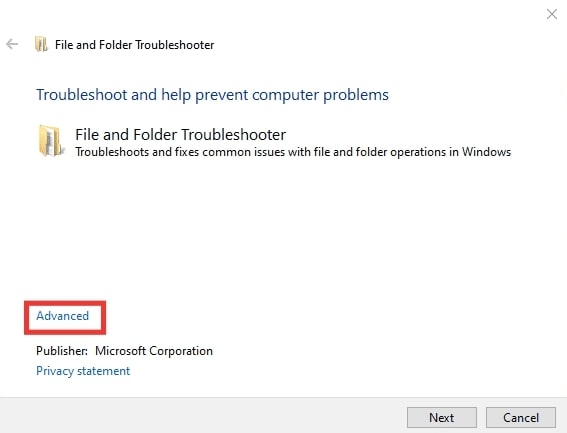
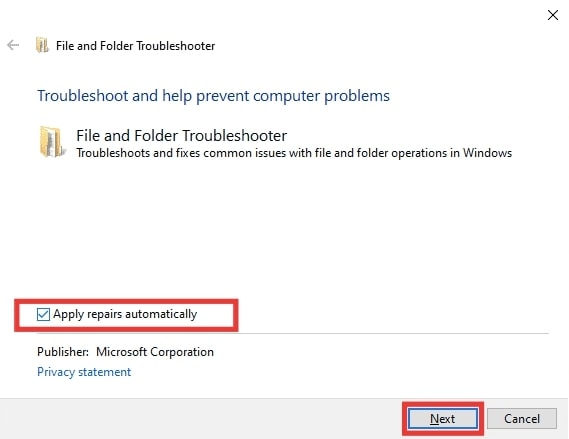
Now, open the troubleshooter and click on the Advanced option.
Then, check the Apply repairs automatically checkbox and click on the Next button.
Wait until the initial diagnostic scan is finished. Now, check the Others or I don’t know checkbox and click Next once again.
After completion, the PC will restart automatically; if not, do it manually.
By Changing the Paging File Size
If the memory(virtual) of the paging file is somehow less than the required memory for that operation you are trying to perform, you are quite certain to receive a 0x80070718 error while performing. So, you can change the paging file size to resolve the error. To do so, follow the below steps,
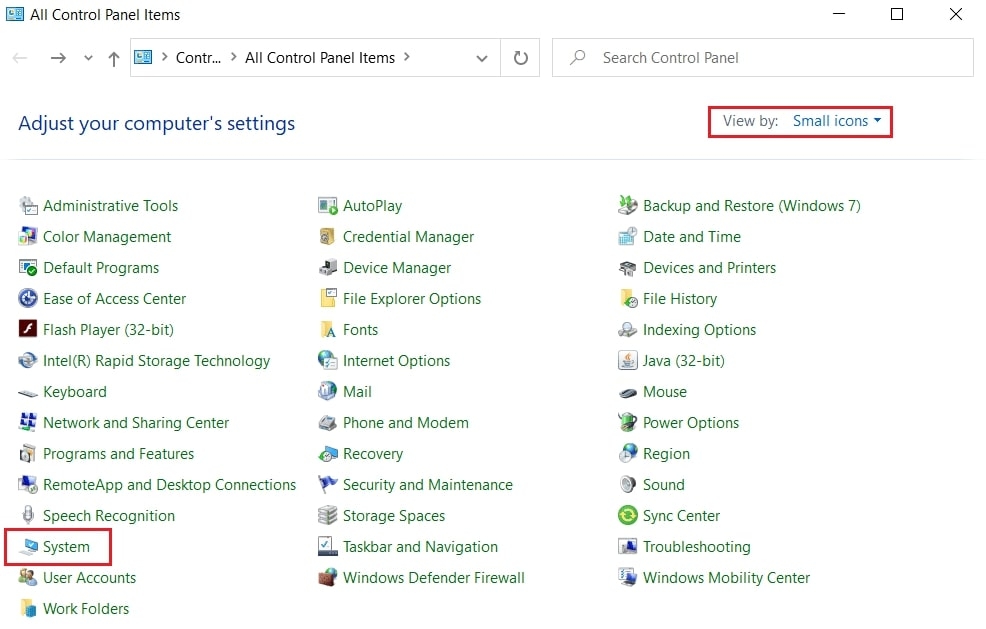
Go to the Windows Search Bar, type “Control Panel,” and hit enter.
Now, click on System setting.
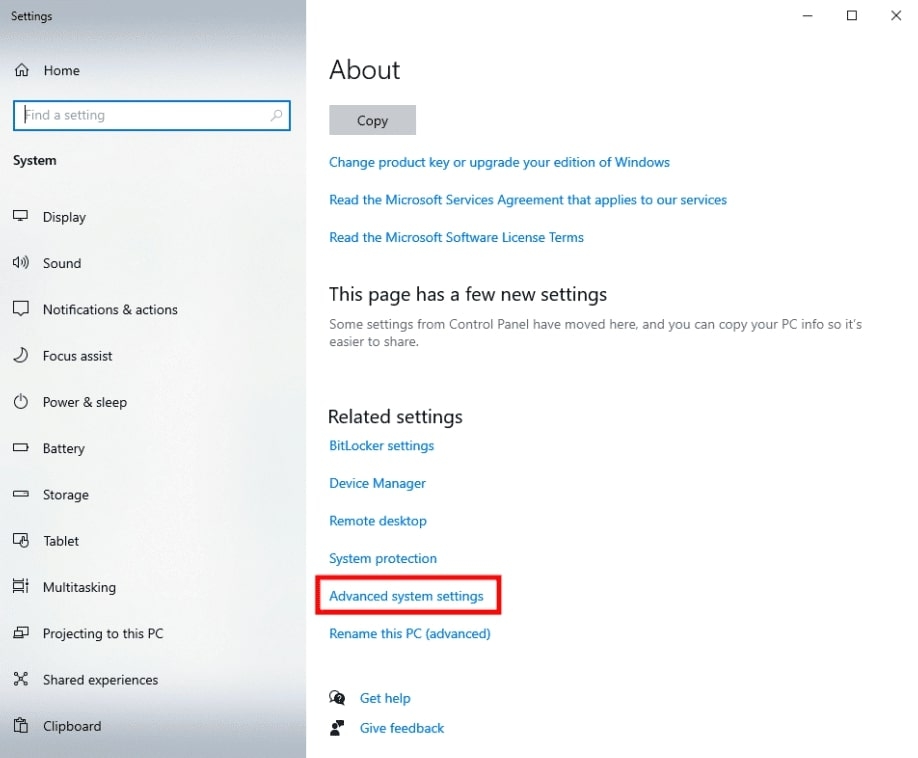
Once opened, click on the Advanced system settings located under the Related settings.
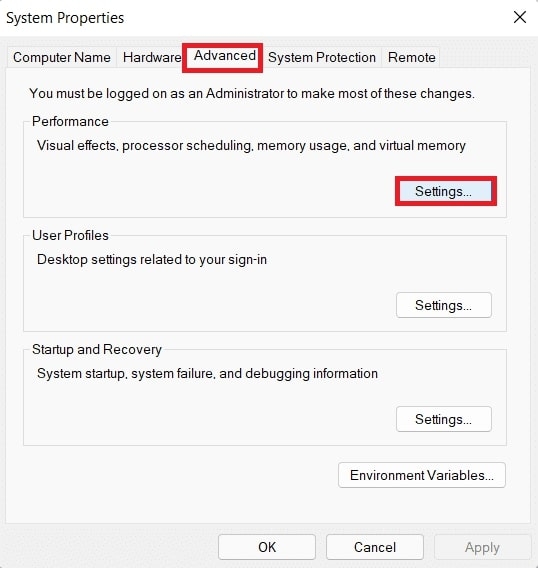
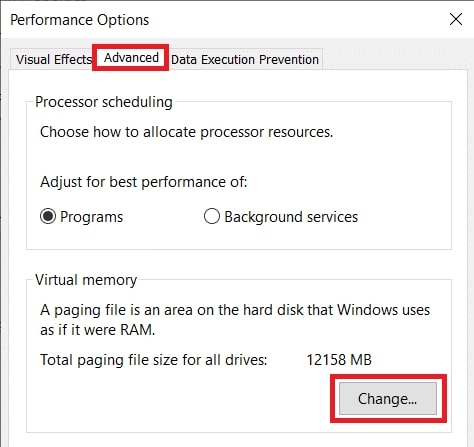
A new dialogue box will appear; go to the Advanced tab and then click on the Performace Settings… button.
Again, go to the Advanced tab and click the Change… button.
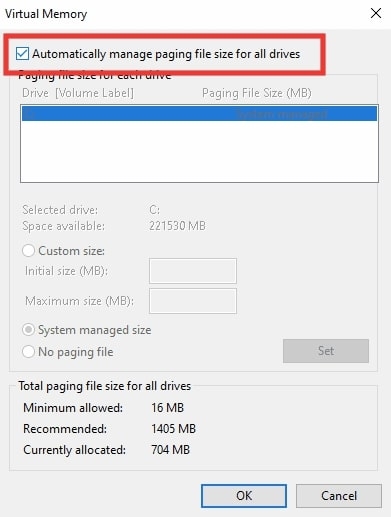
A new window with the Virtual Memory title will open; uncheck the Automatically manage paging file size for all drives checkbox.
Once unchecked, you can now click on the Custom size radio button. There will be two text boxes, one for the Initial size and another for the Maximum size. In the first textbox, enter the value shown in the Recommended paging file size section, and for the 2nd textbox, i.e., Maximum size, put a slightly higher value than the Initial size. Finally, click the Set button to save the changes.
Conclusion – 0x80070718 Error in Windows 10
So that was all about how to fix the 0x80070718 error in Windows 10. We hope you successfully resolved the error (Error 0x80070718:Not enough quota is available to process this command) that you were facing while transferring data on the network. If you do face any issues, feel free to contact us anytime.
Fix 0x80300001 Error While Installing Windows 10 How to Fix The Taskbar Not Working in Windows 10 Download Latest Windows 10 ISO File (20H2 Update)